Soundproofing a Home Theater: A Practical Guide (with Acoustics)
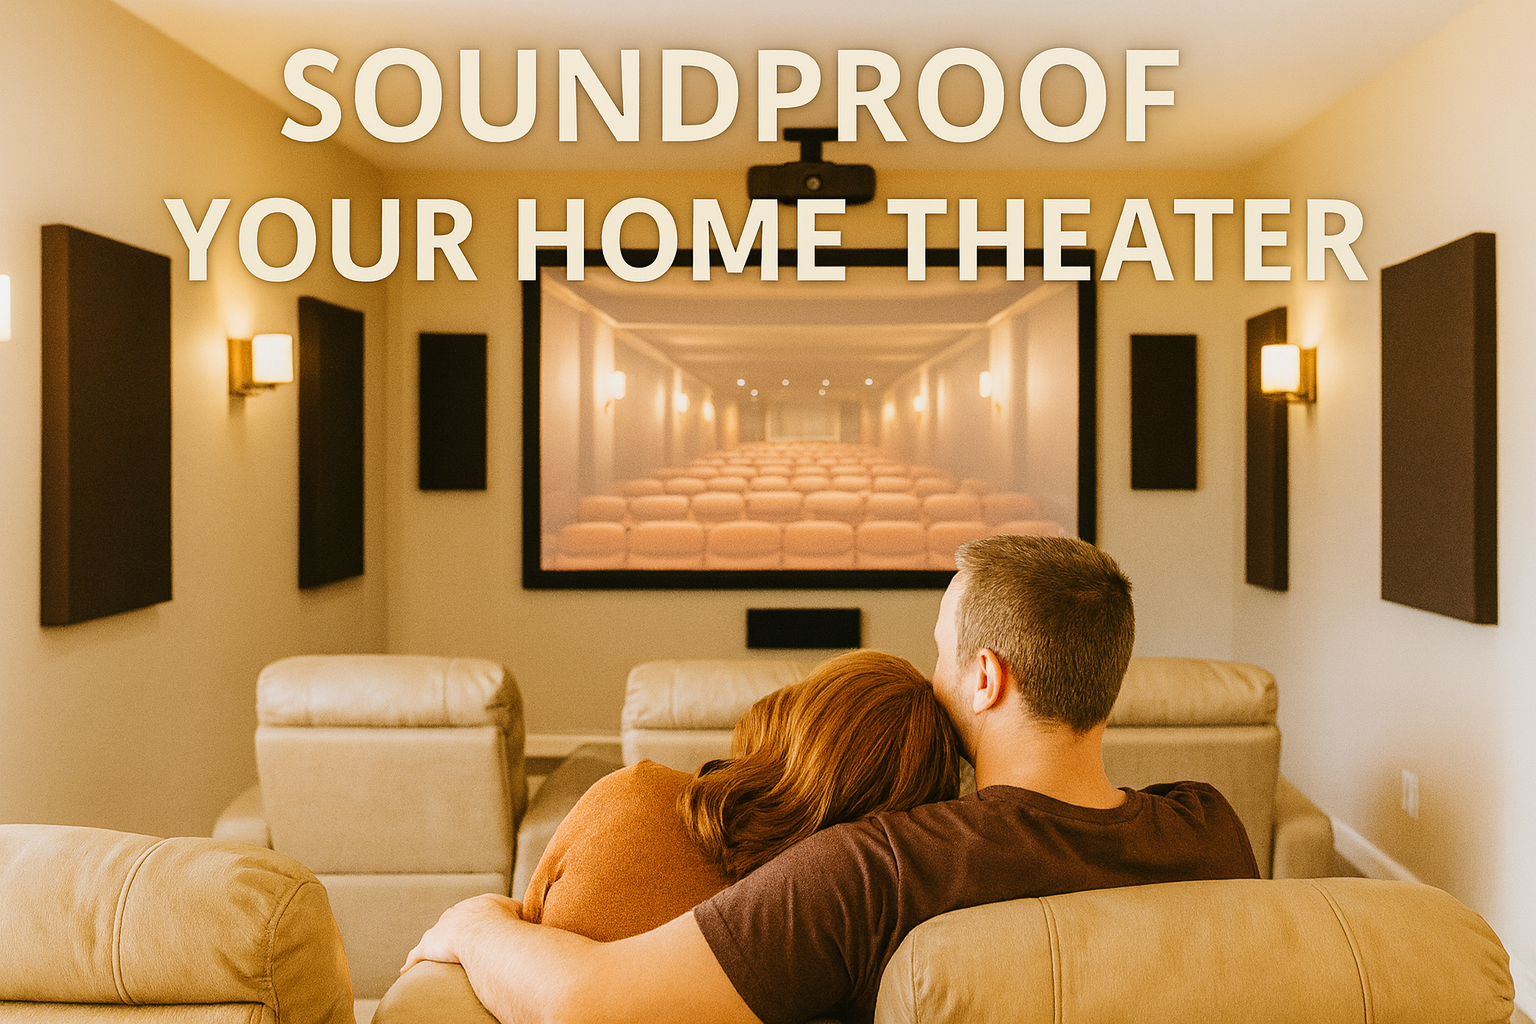
While Creating a home theater is about the screen and surround sound, nevertheless without proper consideration to soundproofing and acoustics during the construction phase it can become an unused room due to the nightmare of sound disturbing the rest of the home and an unpleasant listening experience due to the acoustics in the room. Below we go through the main steps to keep sound inside the room, block noise from outside, and finish with a few acoustic tips for better sound quality.

- Quick Plan: What matters most
- Walls & Ceiling Isolation (Clips & Channel)
- Mass & Damping (Double Drywall + Green Glue)
- Doors: Mass, Gaskets & Automatic Bottoms
- Windows (If Present)
- Floors, Risers & Low-Frequency Control
- HVAC & Ventilation Noise
- Electrical, Lights & Penetrations
- Room Acoustics: Panels, Bass Traps & Setup
- Quick Bill of Materials
- FAQs
Quick Plan – What Matters Most
For a proper theater build, stick to these basics:
- Insulate the walls and ceiling (with fiberglass or mineral wool).
- Decouple the walls and ceiling (with sound isolation clips and channel).
- Add mass and damping (by using double drywall with Green Glue).
- Seal all the gaps at doors, outlets, lights, ducts, and perimeters.
- Treat the room acoustically with panels, bass traps, and proper setup.
Walls & Ceiling Isolation (Clips & Channel)

Soundproofing starts with the walls and ceiling. The goal here is to break the direct path of vibration.
- Install Resilient Sound Clips on studs/joists per the layout guide, then run 7/8" Hat Channel across the clips.
- Fill cavities with fiberglass or mineral wool (do not over-compress).
- Hang drywall on the channels only — never screw into studs/joists.
Tip: Avoid creating a “triple leaf” (layers with air gaps). Two leaves without a gap will outperform three layers with a gap between them.
Mass & Damping (Double Drywall + Green Glue)

Low Bass and vibration are tough to stop. The best approach is mass plus damping.
- First layer: 5/8" drywall on the channels.
- Apply two tubes of Green Glue Noiseproofing Compound per 4′×8′ sheet.
- Second layer: another 5/8" drywall, seams staggered. Leave a small perimeter gap and seal with Acoustical Caulk.
Optional: For tougher airborne problems, add Mass Loaded Vinyl behind drywall, budget permitting.
Doors: Mass, Gaskets & Automatic Bottoms

Doors are usually the weakest link.
- Start with a flat, solid-core door. For extra mass, laminate 1/2" MDF with Green Glue (see our door guide).
- Seal jambs and header with Door Gaskets.
- Seal the threshold with an Automatic Door Bottom.
- Backfill the frame gap with Soundproofing Rubber and Acoustical Caulk.
Windows (If Present)

Best performance comes from eliminating windows. If you have them:
- Add a secondary inner window or an Acoustic Vision Lite (fixed).
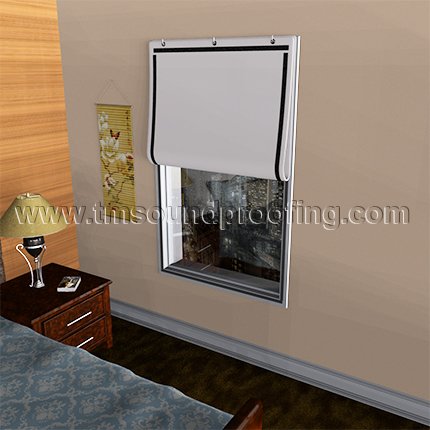
- Use a Sound (and Light) Barrier Curtain for a practical, removable seal.
Floors, Risers & Low-Frequency Control

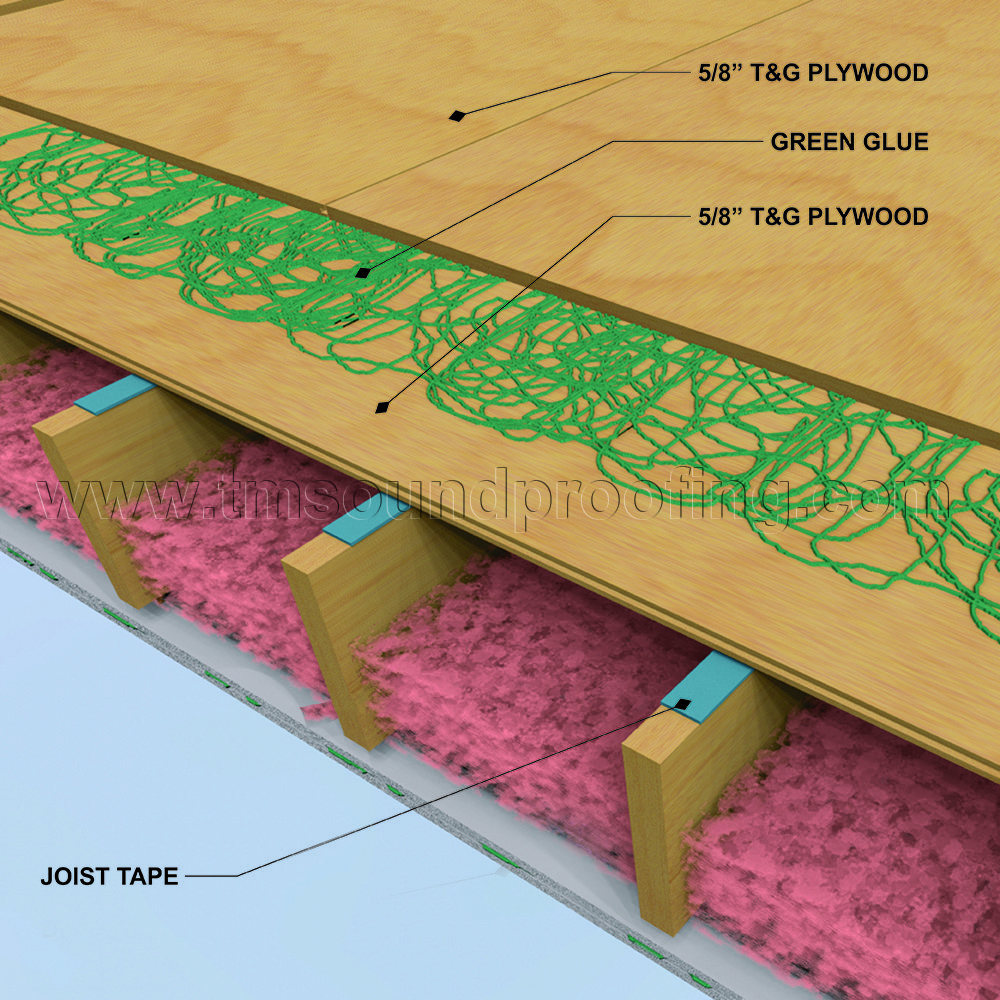
- New build: Joist Gasket Tape + subfloor + Green Glue + second subfloor; optionally add Rubber Underlayment.
- Riser: build it airtight and optionally vented as a bass trap; fill with insulation to reduce boom.
- Subwoofers: place on isolation pads/platforms to reduce floor-borne vibration.
HVAC & Ventilation Noise
.jpg)
- Use lined or flexible ducts with long, slow bends; avoid straight line-of-sight grilles.
- Damp AC Ductwork ducts with Noise-Damping Metal Tape.
- Penetrations: overcut minimally, then seal edges with Acoustical Caulk.
- Projector hush box: ventilate quietly with lined bends if the projector sits in-room.
Electrical, Lights & Penetrations

- Wrap electrical boxes with Acoustical Putty Pads or use STC Outlet Seals.
- Prefer surface-mount LED fixtures (small junction box + putty pad) over large recessed cans.
- Where recessed fixtures are required, use UL fire-rated covers and seal edges.
- After drywall, run Acoustical Caulk around the entire room perimeter.
Room Acoustics: Panels, Bass Traps & Setup

- Bass traps in corners (floor-to-ceiling if possible) to tame LF ringing.
- Absorption at first-reflection points (side walls, ceiling) for clarity.
- Diffusion on the back wall when the room length allows, to keep envelopment without over-deadening.
- Choose fabric-wrapped panels that match your décor: see Acoustic Panels & Materials.
Following is a quick list of materials
- Resilient Sound Clips & Hat Channel
- Green Glue Noiseproofing Compound + 5/8" drywall
- Acoustical Caulk & Putty Pads / Outlet Seals
- Automatic Door Bottom & Door Gaskets
- Mass Loaded Vinyl (optional)
- Duct Wrap (optional)
- Acoustic Panels / Bass Traps
FAQs
Do I need clips if I’m already using Green Glue?
For moderate levels, double drywall with Green Glue can be enough. For theater-grade isolation (aka Loud Noise) use clips & channel plus Green Glue.
Can I skip the ceiling?
Not really, even if your home theater is on the top floor sound can flank through the ceilings. Treat at least one ceiling surface (preferably the theater side) with clips/channel and double drywall with Green Glue.
Where should I start on a budget?
Seal the door (gaskets + automatic bottom), then add Green Glue + a second drywall layer on the theater side walls/ceiling.
Will acoustic panels soundproof the room?
No. Panels improve sound quality inside the theater but do not “soundproof.” Isolation requires mass, damping, and decoupling; panels are for in-room acoustics.
© Copyright by Trademark Soundproofing 2025


